Our company is based in the heart of New England. And as anyone who lives here can tell you, Massachusetts winters are nothing if not bone-chilling. The average winter temperature is about 25 degrees Fahrenheit, but it can easily drop below zero on a cold night.
Add wind, rain, or snow to this equation and the importance of winterizing your doors and windows quickly becomes apparent. But, for the sake of argument, what happens if you don't? For those folks who have moved here from a warmer part of the country, winterizing prevents the seepage of warm air inside the home to outside. If not done or done incorrectly, the warm air your HVAC system is pumping out ends up seeping outside, your home continuously feels like it's freezing and the heating system has to work overtime to compensate (read sky-high energy bills as a result). Luckily, having worked through 15+ winters, we're here to share our top tips on how to stay toasty during winter.
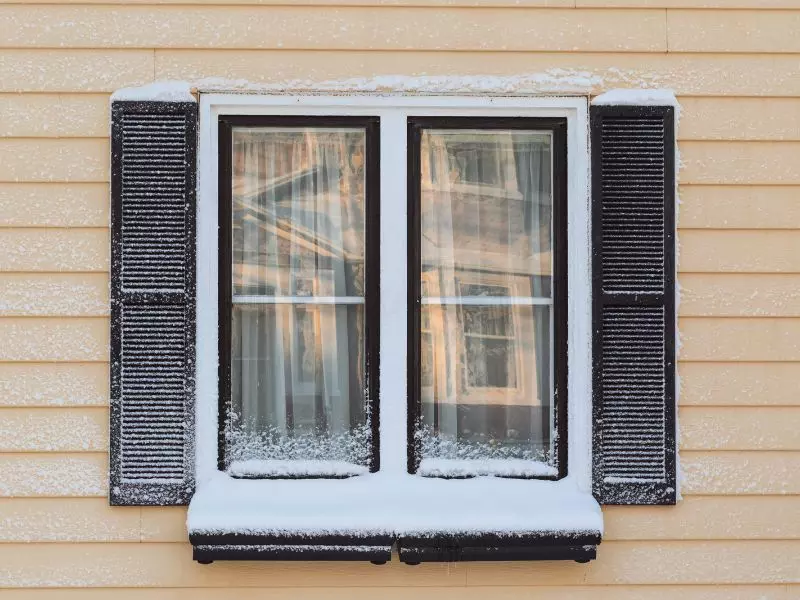
How to Winterize Your Windows
The process of winterizing your windows is a four-step process that must start in the fall. Remember the old saying 'winter is coming? There's a reason behind it. Getting ready in the fall will save you from having a cold and miserable, or worse expensive, winter.
Step 1: Inspection and Cleaning
You should start by inspecting all of your windows. Check for any cracks or holes in the caulking and weatherstripping. These small openings can cause big problems when winter arrives. Make sure to repair or replace any damaged caulking and weatherstripping. Once you've made all the necessary repairs, give your windows a good cleaning. This will help you spot any further damage that needs to be addressed.
Step 2: Applying Caulk
Caulking is a sealant that helps to prevent air and moisture from entering your home through cracks and gaps in the window frame. You should apply caulk around the perimeter of the window, as well as any other areas where there are gaps or cracks.
Step 3: Applying Weatherstripping
Weatherstripping is a strip of material (usually foam, vinyl, or metal) that helps to seal the space between the window and the frame. This will further help to prevent air and moisture from entering your home.
Step 4: Installing Storm Windows (optional)
If you live in an area that gets a lot of winter weather, you may want to consider installing storm windows. Storm windows provide an extra layer of protection against the elements.
Bonus Tips:
Invest in Heavier Curtains
Heavier curtains can help to insulate your home by trapping heat inside. When choosing winter curtains, look for ones that are made of heavy fabric, such as velvet or fleece. These will act as an additional barrier between the warm air inside and the cold air outside.
Reglaze if Needed
Make sure to check your home's older wooden window frames for loose panes and missing sections of glaze. Reglazing the panes as needed will improve their performance.
Know When to Replace Rather a Than Repair
Old or inefficient windows are a huge hazard to your heating bill; it would be the same as leaving a window open all winter. By replacing these old windows with newer, energy-efficient ones, you can help reduce your utility bill by keeping the heat inside of your home where it belongs.
How to Winterize Your Doors
While broadly similar to the process of winterizing windows, the process of winterizing your doors is a three-step process that should also start in the fall.
Step 1: Inspect and Clean the Door
Start by inspecting the door and frame for any cracks or holes. If you find any, repair them with caulk or weatherstripping. Once you've made all the necessary repairs, give your door a good cleaning. This will help you spot any further damage that needs to be addressed.
Step 2: Apply Caulk
Caulking is a sealant that helps to prevent air and moisture from entering your home through cracks and gaps in the door frame. You should apply caulk around the perimeter of the door, as well as any other areas where there are gaps or cracks.
Step 3: Install a Storm Door (optional)
If you live in an area that gets a lot of winter weather, you may want to consider installing a storm door. Storm doors provide an extra layer of protection against the elements.
Bonus Tips:
Use Door Sweeps
Door sweeps are strips of material (usually foam, vinyl, or metal) that help to seal the space between the door and the frame. This will further help to prevent air and moisture from entering your home.
Replace the Door If Needed
If your door is old or inefficient, it may be time to replace it. Newer, energy-efficient doors can help reduce your utility bill by keeping the heat inside of your home where it belongs.